ShopDreamUp AI ArtDreamUp
Look!! This is incredible!!
One of my favorite admirers (sorry...i meant my FAVORITE) "Evestare" made this. Uhh she is a little jealous of some of my subject matter. :giggle:
So Long 2015
So we close the chapter of 2015. A new year, fresh start and another blank sheet of paper.
A new chapter waiting to be written, new questions to be asked, new challenges, and some failures are undeniable.
Its been a great year on DA..had many laughs, met a few, and lost touch with a couple..once again if it wasn’t for those who like, comment, or note I may have put my art back in the closet where I left it long ago to “someday get back into it”.
So remember
You never realize how boring your life is until you tell people you draw for fun :D
Have an AWESOME 2016!!!!! Rob :D
Sistine Chapel trivia :D
1. Michelangelo wanted nothing to do with the Sistine Chapel’s ceiling.
In 1508, 33-year-old Michelangelo was hard at work on Pope Julius II’s marble tomb, a relatively obscure piece now located in Rome’s San Pietro in Vincoli church. When Julius asked the esteemed artist to switch gears and decorate the Sistine Chapel’s ceiling, Michelangelo balked. For one thing, he considered himself a sculptor rather than a painter, and he had no experience whatsoever with frescoes. He also had his heart set on finishing the tomb, even as funding for the project dwindled. Nevertheless, Michelangelo reluctantly accepted the commiss
Beautiful Story..please share :d
LAST CAB RIDE...It's the little things
I arrived at the address and honked the horn. After waiting a few minutes I honked again.
Since this was going to be my last ride of my shift I thought about just driving away, but instead I put the car in park and walked up to the door and knocked.
'Just a minute', answered a frail, elderly voice.
I could hear something being dragged across the floor.
After a long pause, the door opened. A small woman in her 90's stood before me.
She was wearing a print dress and a pillbox hat with a veil pinned on it,
like somebody out of a 1940's movie.
By her side was a s
Featured in Groups
© 2013 - 2024 MrEyeCandy66
Comments41
Join the community to add your comment. Already a deviant? Log In
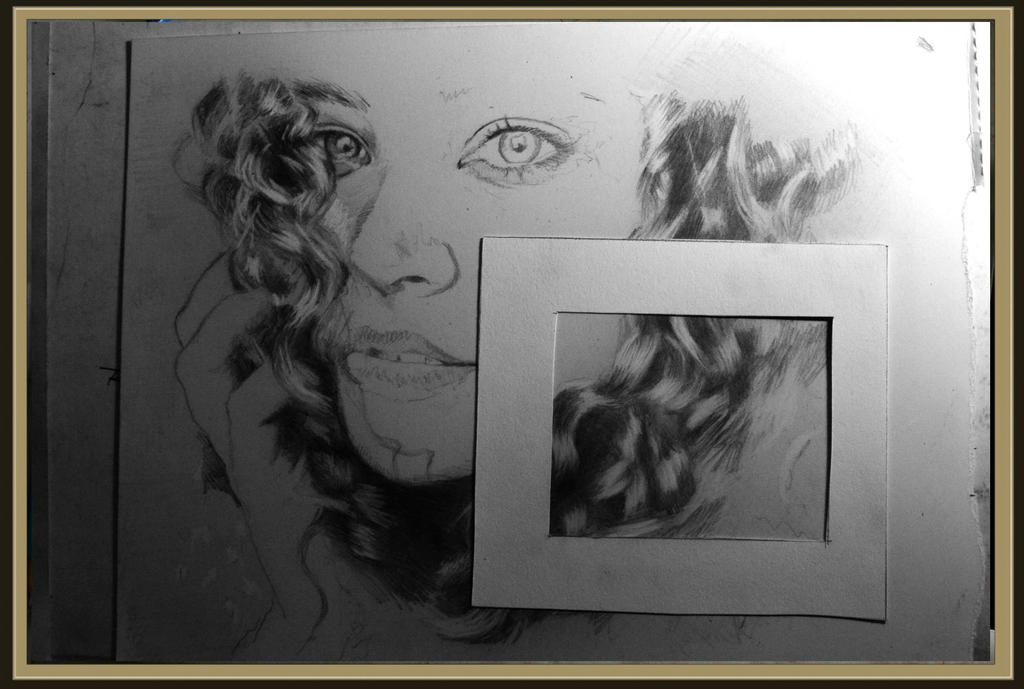
I hate doing curly hair but you've nailed it! Interesting to see how you did it, picture looks amazing 


